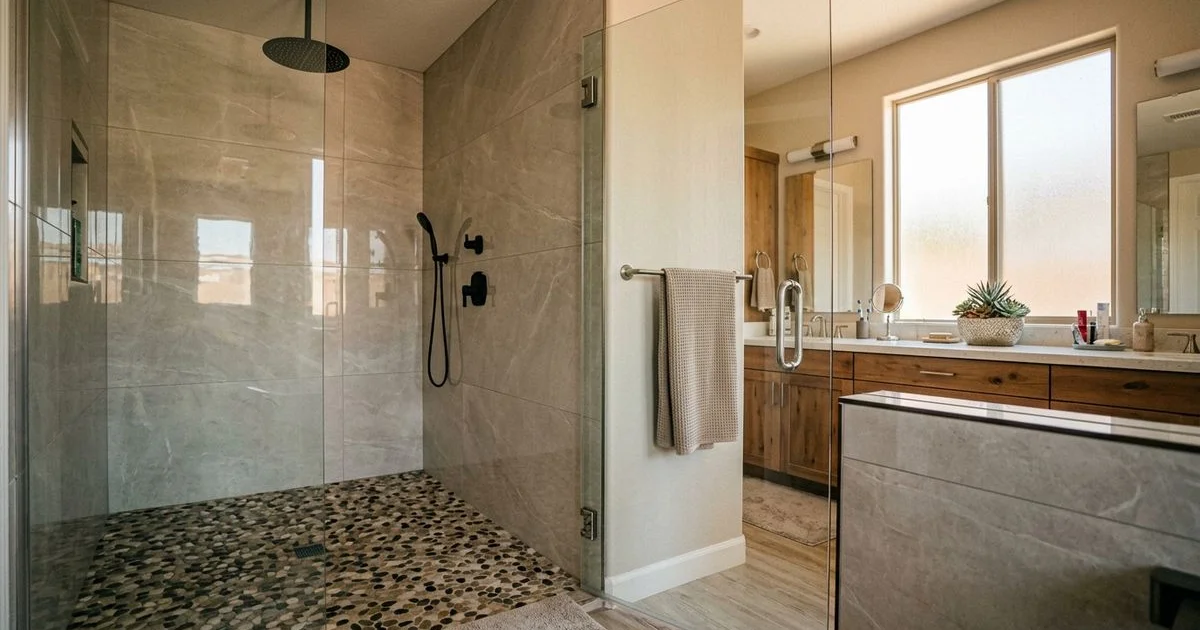
Custom Tile Shower Installation: A Step-by-Step Process Guide
What goes into building a custom tile shower — from waterproofing and cement board to tile layout and grout. Understand the process before you commit.
You know how a bathroom remodel often turns into a chaotic scheduling headache. We created this Custom Tile Shower Installation: A Step-by-Step Process Guide to help you cut through the confusion. A new tile shower functions less like a simple flooring update and more like a complex construction zone.
Our team sees the same friction points repeatedly. The reality is that skipping a single step causes expensive failures down the road.
Let’s review the data, explain the hidden structural requirements, and outline a clear roadmap for your project.
Step 1: Design and Planning
Before lifting a hammer, the design phase locks in your timeline and budget.
We always prioritize a solid layout strategy first. Recent 2026 data shows that mid-range bathroom updates yield a 70 to 80 percent ROI, while extreme luxury renovations often return only 45 to 55 percent. Smart, functional design decisions maximize your investment.
Key Layout Decisions
Structural requirements change based on your entry style and seating preferences. A curbless entry requires lowering the floor joists. A standard 4-inch curb is much easier to frame and waterproof.
Tile and Fixture Selection
We see many clients struggle with material choices. Large-format tiles (12x24 inches or larger) create a modern look with fewer grout lines.
These larger tiles demand perfectly flat walls. Small mosaic tiles conform easily to the required slope of a shower floor.
Here is a quick breakdown of common tile materials:
| Tile Material | Typical 2026 Cost | Best Application |
|---|---|---|
| Ceramic | $2 to $5 per sq ft | Budget-friendly wall applications |
| Porcelain | $3 to $10 per sq ft | Highly durable for floors and walls |
| Natural Stone | $7 to $20 per sq ft | Luxury accents requiring regular sealing |
Fixture placement must happen early. Moving a showerhead or valve after framing is complete will severely delay the project.
Step 2: Demolition (Day 1)
The old shower or tub removal creates the most dust and noise.
Our crews take specific precautions depending on the age of the home. For houses built in the US before 1978, the EPA Renovation, Repair, and Painting (RRP) Rule requires certified lead-safe practices to contain harmful dust.
For a standard tub to shower conversion, the sequence is specific:
- The tub is disconnected from the plumbing supply.
- Fiberglass units are cut into manageable pieces.
- Drywall behind the surround is stripped to the bare studs.
- The floor is assessed for drain repositioning.
We frequently encounter hidden challenges during this phase. Cast iron tubs are notoriously heavy, often weighing between 300 and 500 pounds. Removing them safely requires multiple workers or cutting the iron on-site.
This phase also exposes the wall framing. Water damage behind old valves is a frequent issue. Any rotted studs must be replaced before the new installation begins.
Step 3: Rough Plumbing and Framing (Day 1 to 2)
With the walls open, the plumber adjusts the supply lines to match the new layout.
Our plumbing partners strictly follow the US International Plumbing Code (IPC). The IPC mandates a standard 2-inch drain pipe for showers.
This is larger than the 1.5-inch pipe used for bathtubs, preventing the shallower shower pan from overflowing. Upgrading the drain size is a mandatory step for any tub conversion.
New framing requirements include:
- Solid blocking for grab bars and heavy glass doors.
- Niche framing placed accurately between existing studs.
- Proper sloped framing for built-in benches.
We build our curbs using stacked 2x4s wrapped tightly in cement board. A professional shower curb must be perfectly level and sized precisely to support the future glass enclosure.
Step 4: Backer Board and Mud Bed (Day 2 to 3)
Cement backer board replaces standard drywall in the wet zones.
Our installers use alkali-resistant mesh tape and thin-set mortar on every single seam. Popular approved backer boards include:
- HardieBacker cement board
- Durock cement board
- Schluter Kerdi-Board foam panels
This creates a stable, moisture-resistant substrate for the tile.
The shower floor requires a sloped base to direct water toward the drain. The plumbing code requires a strict slope of 1/4 inch per foot.
If the floor is too flat, water pools. If the pitch is too steep, standing on the tile feels awkward.
Many modern projects skip the traditional mortar bed. Pre-sloped foam shower trays, like the Schluter Kerdi-Shower-ST, eliminate the heavy mud work. Foam trays provide a perfectly consistent slope and save hours of labor.
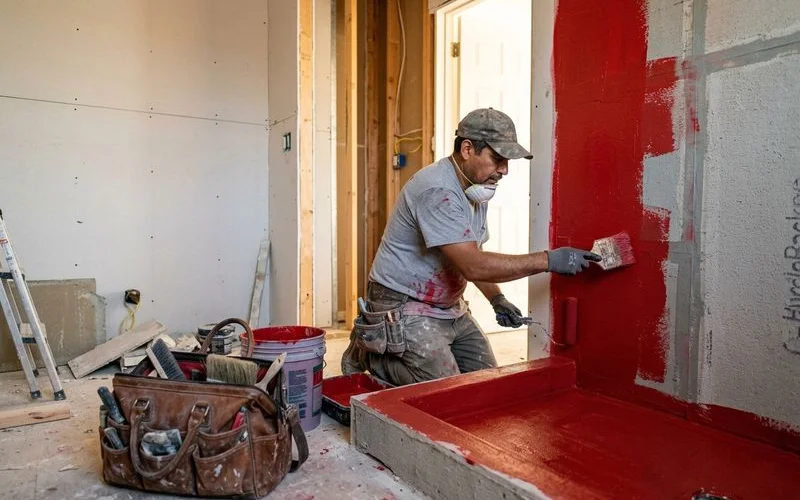
Step 5: Waterproofing (Day 3)
This invisible layer is the single most important element of the build.
We adhere strictly to the Tile Council of North America (TCNA) A118.10 standard for all waterproof membranes. Without this barrier, moisture will inevitably rot the home’s framing.
Professional contractors use one of two main systems:
Liquid-Applied Membranes
Products like RedGard or HydroStop are painted directly onto the backer board. The installer applies two thick coats to create a rubbery, seamless barrier. Each coat requires 6 to 8 hours of drying time.
Sheet Membranes
Products like Schluter Kerdi use a thin, orange waterproof sheet. The sheets are adhered to the walls using thin-set mortar.
All overlapping seams are sealed with special waterproof banding. This system eliminates drying time completely.
Our quality control process includes a mandatory 24-hour flood test. The installer plugs the drain and fills the pan with water to just below the curb. If the water level drops at all, we find and fix the leak before mixing any mortar.
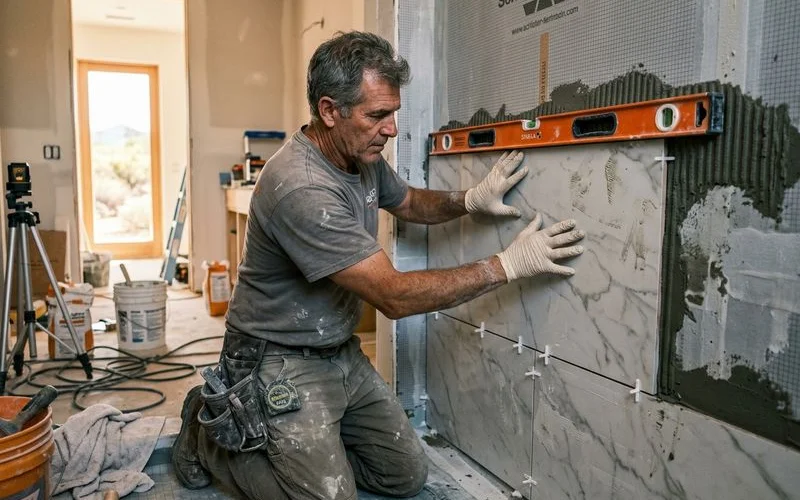
Step 6: Tile Installation (Day 4 to 6)
With a verified waterproof pan, the actual tile work begins.
We typically start with the shower floor, move to the walls, and finish with the niches. For most wall applications, a modified thin-set mortar meeting the ANSI A118.4 standard is required. This modified mortar offers superior bond strength for wet environments.
Floor and Wall Techniques
Small mosaic tiles (like 2x2 inch squares) work best on the floor. They flex easily over the sloped pan. The installer uses careful spacing to ensure consistent grout joints.
Wall tiles are installed from the bottom up. A laser level keeps every row perfectly straight. Large-format tiles require a technique called back-buttering. The installer applies mortar to both the wall and the back of the tile to guarantee full adhesion.
Handling Niches and Accents
Niche interiors require detailed edge finishing. The bottom shelf of a niche must be sloped slightly outward to shed water. A standard 50-square-foot shower usually takes two full days of tile work.
Step 7: Grouting and Caulking (Day 6 to 7)
Grout fills the joints and defines the final aesthetic.
Our designers always remind clients that grout color dramatically impacts the look. Lighter grout makes the tile pattern pop. Darker grout blends in and hides soap stains effectively.
There are three main types of grout used in modern showers:
- Sanded Grout: Best for joints wider than 1/8 inch to prevent shrinking.
- Unsanded Grout: Used for very tight spaces and easily scratched glass tiles.
- Epoxy Grout: A premium option offering maximum stain resistance.
Upgrading to a premium epoxy grout, like Laticrete Spectralock Pro, offers incredible durability. However, epoxy grout requires a strict 14-day cure time before reaching maximum stain protection.
After the grout cures, all corners and changes of plane get sealed. Matching silicone caulk is applied to the floor-to-wall joints. Silicone handles the natural expansion and contraction of the building without cracking.
Step 8: Final Fixtures and Glass (Day 7 to 8)
The final details bring the entire shower to life.
Our finish plumber returns to install the final trim pieces:
- Showerhead and control valve plate
- Handheld sprayer and slide bar
- Decorative drain cover
Glass enclosures are always measured after the tile is completely finished. Tile thickness changes the final opening dimensions by fractions of an inch.
A glass door usually takes one to two weeks to fabricate. A simple tension rod and curtain work perfectly in the meantime.
Timeline and Cost Summary
A typical custom shower requires 7 to 10 working days of active labor.
Our data shows that the 2026 US national average cost for a walk-in shower is roughly $9,500. Local labor shortages have impacted pricing nationwide. Specialized tile installers currently charge between $12 and $22 per square foot.
Here is a general cost breakdown for the Greater Phoenix area:
- Standard custom tile shower: $4,500 to $8,000
- Premium with large-format tile and benches: $8,000 to $14,000
- Luxury with natural stone and body sprays: $14,000 to $22,000+
Frameless glass enclosures typically add $800 to $3,000 depending on the height and hardware style.
Conclusion
Zona Floors handles the entire process from the first design consultation to the final line of silicone. A high-quality shower installation requires precise coordination, but the final result adds daily comfort and real value to your home.
Schedule your free in-home estimate or call 480-428-5080.

Thomas Inman
Owner, Zona Floors
Thomas Inman founded Zona Floors in 2022 with a mission to bring honest pricing and quality craftsmanship to homeowners across Maricopa County.
Arizona ROC License #336899 · Thumbtack Top Pro 2023–2025
Looking for professional help?
Learn about our Tile Stone Flooring service →